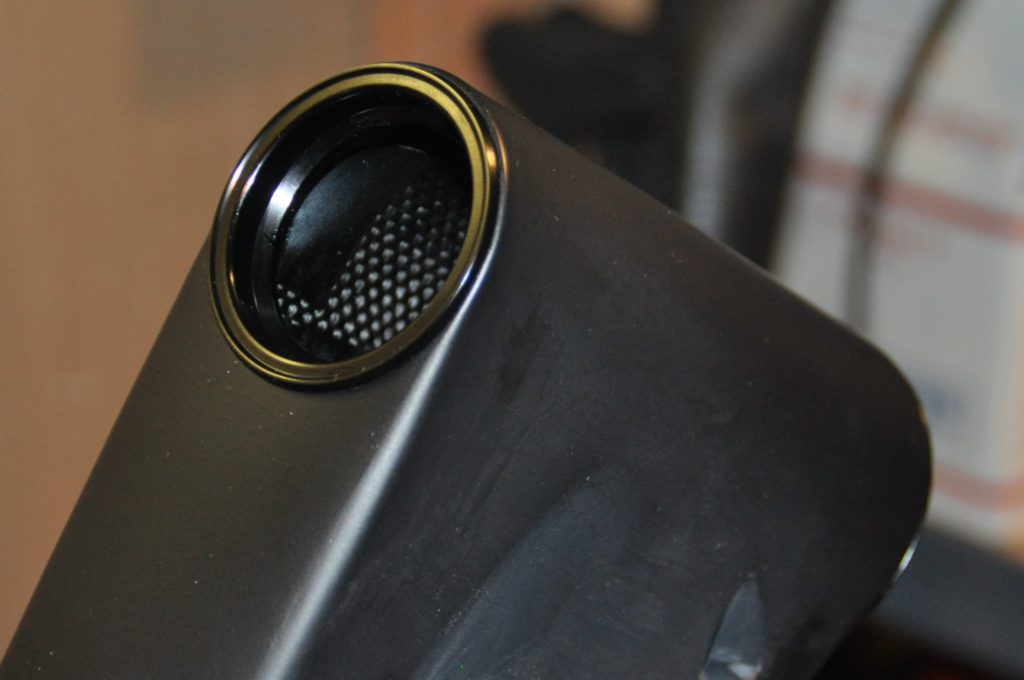
To begin to prepare the frame for mapping out the suspension progression and geometry, first I would have to know where the front axle will sit. I could guess and go from the supplied diagrams, but I know better than to assume they are accurate. In order to get everything in place a headset and 140mm fork will have to be installed.
Fm10 Build Week 2: Headset Install
The inner headtube on this FM10 frame looks really nice from the factory. However, since I am pressing in aluminum cups into carbon, a proper inspection is in order first. I used dial calipers to check for roundness and proper press-fit tolerances. I honestly would not use the press in cups that came with the frame since I have no clue what the tolerances would be need to be. Instead, I ordered a Cane Creek Zero Stack ZS44 ZS56 Combo. In my opinion Cane Creek is the best value in the business and will help with listing tolerances.
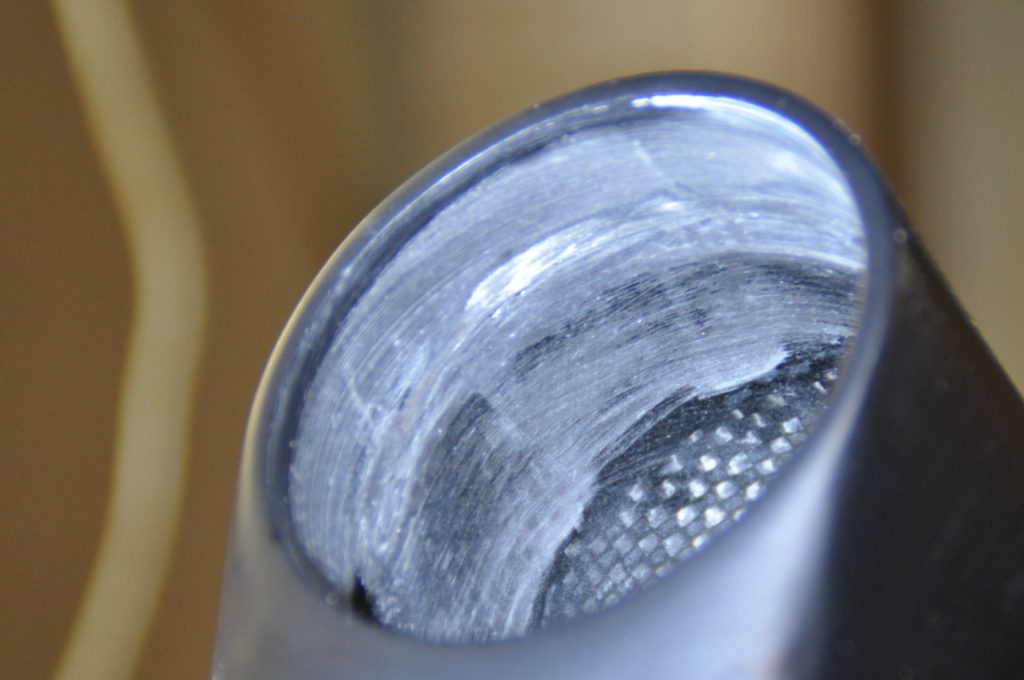
Use Primer and Retaining Compound on Carbon!
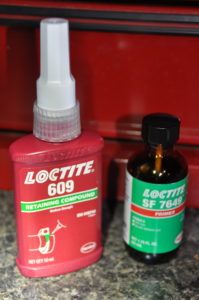
This is the type of job I only want to do once, and do right on a carbon frame. The carbon has to be prepped, all areas sanded (I used 600 grit) and free of imperfections. Since it is carbon there is little chance the mating surface will be perfect, so you should use a primer and retaining compound from Loctite or Park Tool that will fill in imperfections and provide an even mating surface. This will prevent creeks, squeaks and loosening over time, you really should not skip this step!
Carbon Headtubes Stress Me Out
In my 25 years of budget bike builds I have never had the proper Park headset installing tool (HHP-2). This has never bothered me until this build. I really miss installing cups into my machined and faced aluminum Turner frames at this time. Aluminum is forgiving and can be machined to close tolerances. Carbon is plastic, and does not machine as well as metal. Carbon is formed in a mold, aluminum or steel is extruded, drawn or milled. The differences between metal and carbon “plastic” make carbon a lesser choice for press fit applications. Carbon headtubes can crack under overload compared to steel or aluminum having a little give if things go slightly awry.
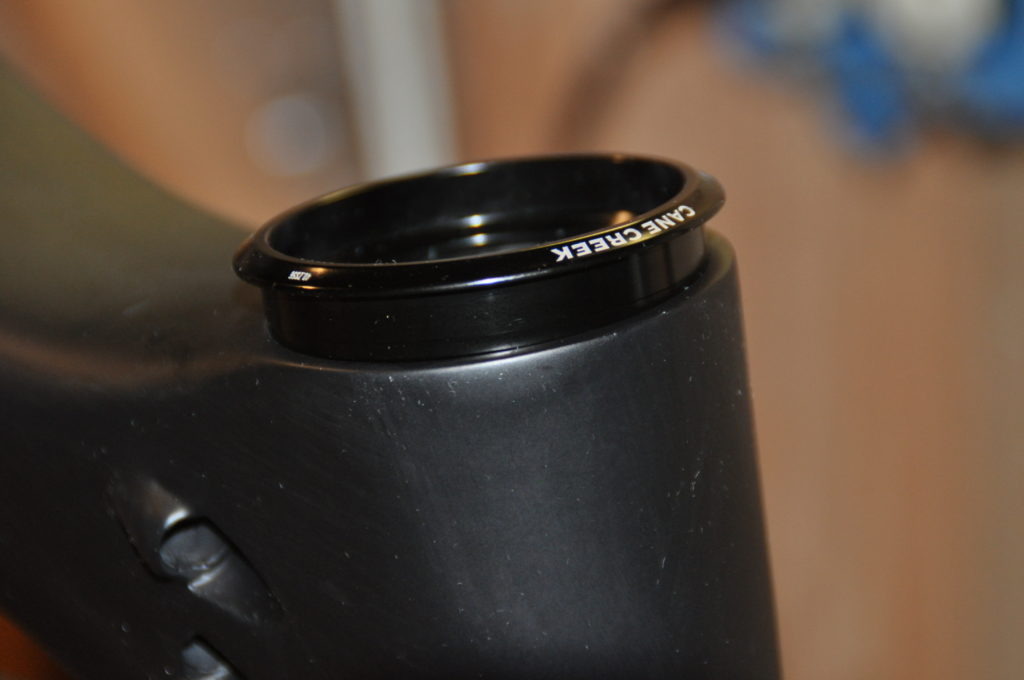
Fitting ZS44 and ZS56 Cups Correctly:
I decided to press in one cup at a time with my bearing press which is a little better designed for bottom brackets than headtubes. This was the slowest headset press in I have ever done, and the most stressful. This is one of the things you may want to pay a shop to do. I decided to go slow and steady preloading and tapping the cups in straight a little at a time.
Before setting the cup to be pressed, clean all surfaces with primer, then apply the retaining compound.
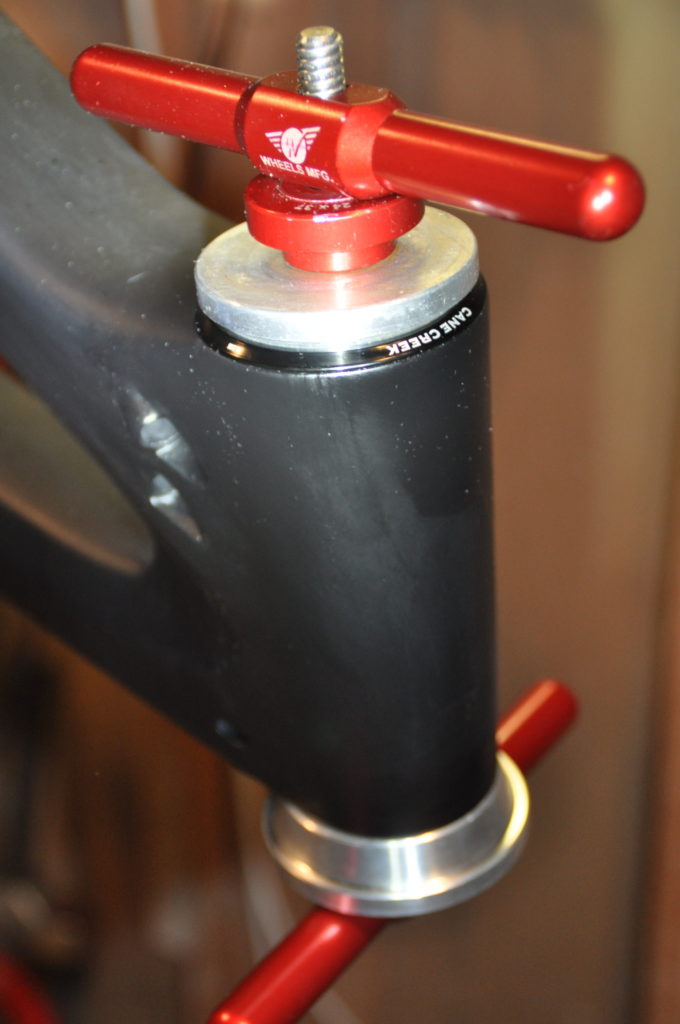
A Park Tool headset HHP-2 press would have given me more leverage and less stress, however my wheels manufacturing press did get the job done. I would preload a quarter turn and tap the aluminum bearing blocks a little at a time. Once the preload was gone, I would repeat with another quarter turn. After the first cup was seated, you should get some 609 retaining fluid to ooze out. Make sure you have some Isopropyl alcohol (IPA) and rags on hand to clean up around the cups before the retaining fluid sets.
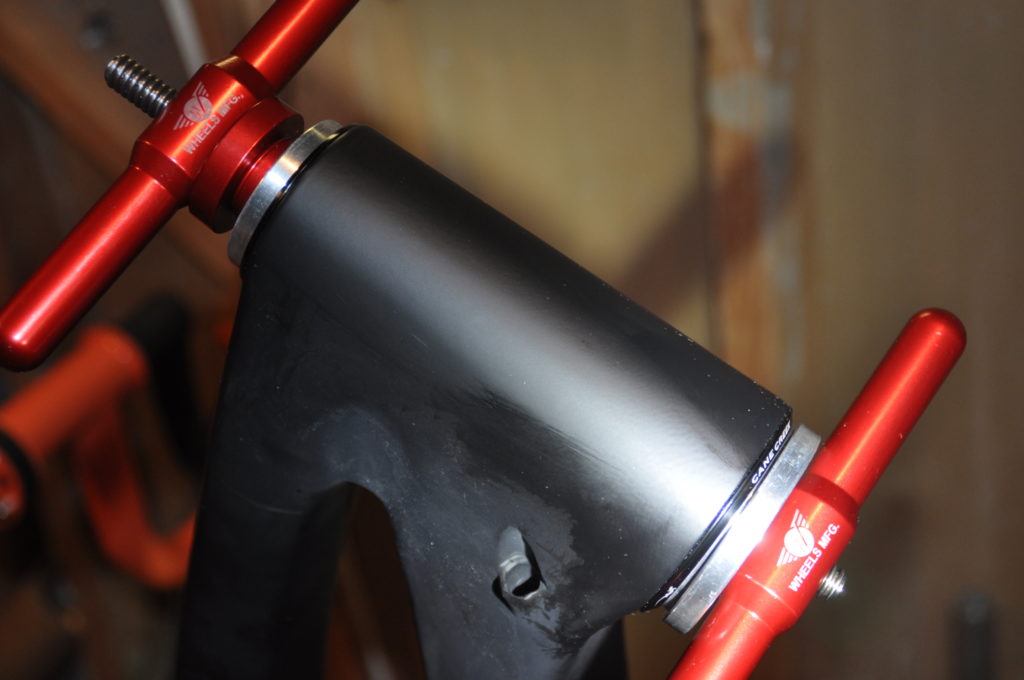
After repeating for the second side, everything went straight and smooth. Clean everything immediately after with IPA. If things start to go crooked and you can not tap them back straight, It is better to knock the cups out, clean everything with IPA and start over than to risk cracking the headtube and ruining the front triangle. Please pay your local bike shop to do this step if you are not patient enough or do not know if your skills and tools can handle it.
With the hard part over I can fit the fork and start to map out the rest of this build!



Leave a Reply